Create Your First Next.js App
A Beginners Guide to Creating a Next.js App with Typescript, TailwindCSS, and Shadcn/ui
When you're new to coding or just new to Next.js, it can sometimes feel a bit overwhelming just to take the first step of starting a project.
If you want to try your hand at building a web app but don't know where to start, this post is going to outline the steps that I follow when I'm creating a new Next.js project.
Prerequisites
Before you can start a Next.js project, you'll need to confirm that you have Node.js and npm installed.
In your Terminal (how to open Terminal on Mac / how to open Terminal on Windows), run the following commands separately:
node -v
npm -v
You should get a response with a version number for each command. As of this writing, the current version of Node.js is v21.7.1 and the current version of npm is 10.5.0.
If you don't have Node.js and/or npm installed, you can follow the instructions here to install them.
Create The Project
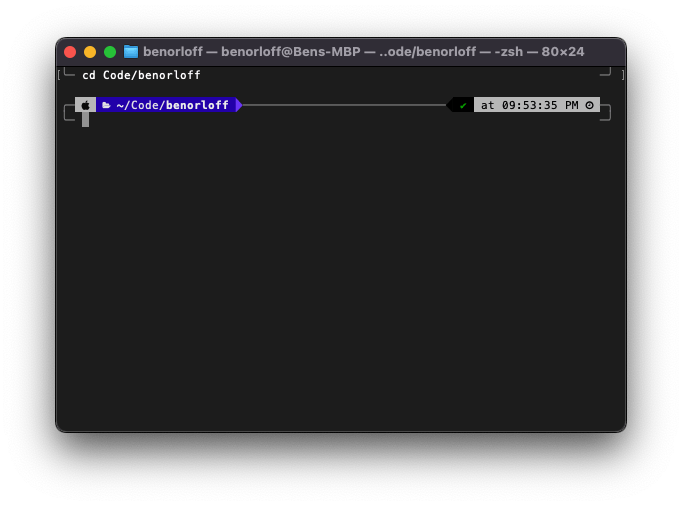
Open your Terminal and cd into the directory where you want to initialize the project.
Personally, I use a folder named /Code/benorloff where I create my personal projects. I recommend having a dedicated folder for your projects, instead of creating them in /Desktop or /Downloads, for example.

Once you're in the directory that you've chosen, it's time to initialize the Next.js app.
Create Next App
Run the following command in your terminal to create a new Next.js app:
npx create-next-app@latest
You'll be prompted to answer some configuration questions during the installation process. You can name the project whatever you would like, but I recommend using the answers below for the remaining questions:

Once the installation is complete, be sure to cd into the new project directory before continuing.
You can now open the project in your code editor of choice. Personally, I use Visual Studio Code.
Install Shadcn/ui Components (optional)
I typically use Shadcn as my UI component library, but you can skip this step and use a different component library or build your own components if you prefer.
If you want to use Shadcn for your UI components, run the following command:
npx shadcn-ui@latest init
Here are the answers I use for the installation prompts:

After installation is complete, you should see 2 new directories (/components and /lib) and a new file (components.json) in the root directory of your project.
Your project structure should now look like this (.next and node_modules directories not shown):
.
├── app
│   ├── favicon.ico
│   ├── globals.css
│   ├── layout.tsx
│   └── page.tsx
├── components
│   └── ui
│       ├── button.tsx
│       ├── card.tsx
│       ├── form.tsx
│       ├── input.tsx
│       └── label.tsx
├── lib
│   └── utils.ts
├── public
│   ├── next.svg
│   └── vercel.svg
├── .eslintrc.json
├── .gitignore
├── README.md
├── components.json
├── next-env.d.ts
├── next.config.mjs
├── package-lock.json
├── package.json
├── postcss.config.js
├── tailwind.config.ts
└── tsconfig.json
Finally, let's launch our app so we can view it in the browser:
npm run dev
Open your browser and go to localhost:3000. You should see the Next.js boilerplate page.
Congratulations! You've officially launched a Next.js app 🙌
Next Steps
Explore the Next.js Documentation
Take the Next.js Intro Course
Take the React Foundations Course
Follow me for more Next.js and programming guides
Build something cool!

